Last updated: 10/30/26
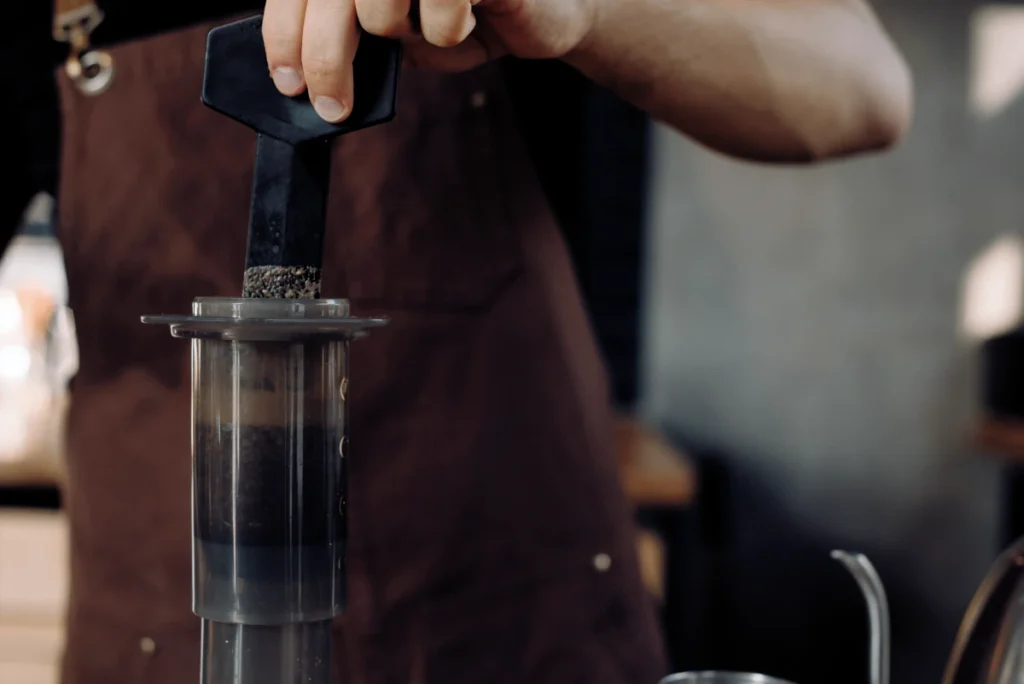
I still remember unboxing my first AeroPress back in 2015. Skeptical? Absolutely. But that odd-looking plastic contraption has outlasted every other coffee gadget in my kitchen, other than my Baratza Encore grinder. Years later it’s still my go-to at home, and the Go version has become the one piece of coffee gear I won’t leave behind on a trip.
Why It’s Earned a Cult Following
Most brewing methods force a choice between convenience and quality. The AeroPress refuses that trade-off. It combines French press immersion with paper filtration and a bit of gentle pressure, landing somewhere between espresso and pour-over, less acidic than drip, more body than pour-over, cleaner than French press. That Goldilocks zone is what hooks people.
It’s also genuinely versatile. Espresso-strength for a cappuccino, a longer gentler cup with added water, even cold brew in about two minutes instead of overnight. Cleanup takes about eight seconds: pop the puck into compost, rinse, done.
The engineering holds up too. Alan Adler, the same guy behind the Aerobie flying ring, designed this thing to last, and mine has survived tile floors, camping trips, and daily use without a crack. There’s a whole community built around it now, including an annual World AeroPress Championship where competitors trade techniques that sometimes sound like mad science but often genuinely improve the cup.
Gear Worth Having
For home use, get either the original AeroPress (around $40) or the Go version, they brew identically, but the Go packs down smaller and comes with its own mug. I’ve used both for years side by side.
Paper filters work fine, but I’ve switched to a metal filter (The Mesh by Altura, about $10) for a fuller mouthfeel closer to French press without the sediment. For grinding, a Baratza Encore is the upgrade worth making if you can swing it, consistent grind size means consistent extraction, though the Timemore C2 manual grinder ($80) does a solid job with a bit more elbow grease. A cheap digital scale (mine reads to 0.1g and cost about $15) is the difference between guessing and repeating a cup you actually liked.
For the field, the calculus changes a bit. The complete AeroPress Go kit, mug, accessories, and filters, weighs just 324 grams, and switching to that reusable metal filter shaves off even more. A hand grinder like the Java Presse ($35) is the one luxury item worth the extra weight if fresh-ground coffee matters to you on the trail. Whatever stove or kettle you’re already carrying for cooking will do fine for heating water.
Brewing at Home
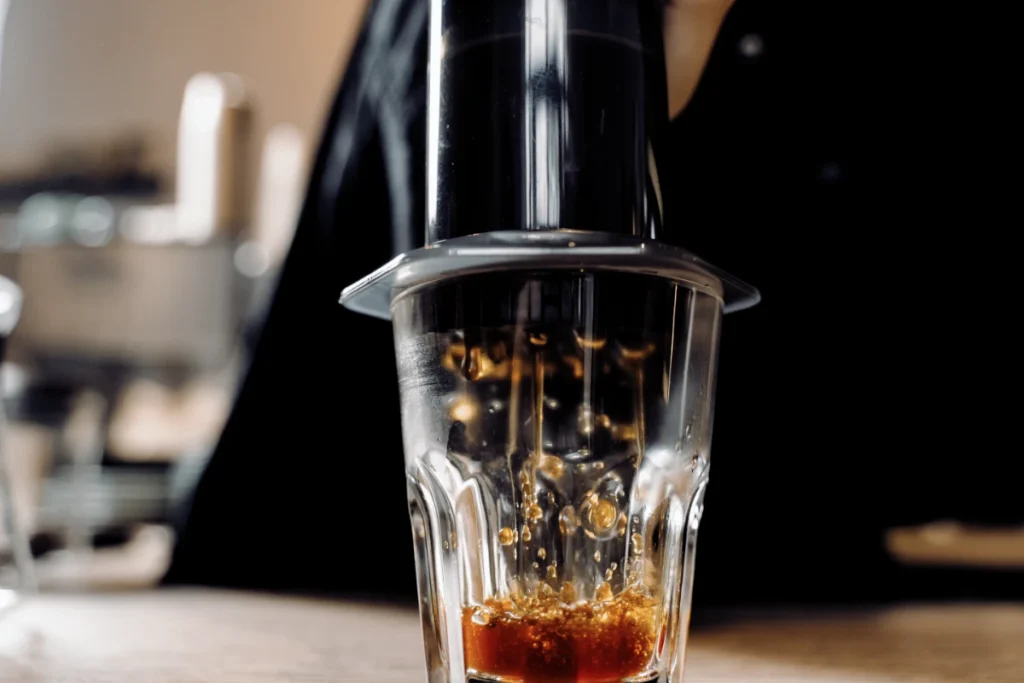
Heat water to about 82°C (180°F), boil then wait two minutes. Rinse a paper filter with hot water to cut the paper taste and preheat the cap, then secure the filter and set the chamber on your mug. Add 17g of medium-fine coffee, start your timer, and pour 50g of water in a spiral. Stir quickly five or six times, then let it bloom for 30 seconds while you watch the CO2 bubble up. Add the remaining water to reach 250g total, stir gently twice more, then attach the plunger and pull up slightly to stop it from dripping. Wait until 1:15 on the timer, then press slowly and steadily for 25-30 seconds until you hear that hiss.
That method consistently pulls out chocolate notes in medium roasts and keeps the bitterness down in darker beans. For lighter roasts, bumping the temperature to 85°C brings out more of the fruity, complex side.
Brewing in the Field
The field version simplifies things a bit, since you’re working with less precision and usually less patience. Grind to a medium-fine consistency, similar to table salt, remove the plunger and seat the filter in the cap, then secure it to the chamber over your mug. Add one rounded scoop, about 15 grams, and level it with a shake. Heat water to roughly 175°F, just below boiling, pour enough to saturate the grounds, and let it bloom for 10 seconds. Fill to the “1” line, stir gently for 10 seconds, then insert the plunger and press with steady, gentle pressure. Eject and rinse, and you’re set for the next round.
Drink it straight for something closer to espresso, or add hot water for a camp Americano.
Playing With Variables
Grind size, water temperature, steep time, and pressing speed all move the needle more than you’d expect. Stepping one setting finer with Ethiopian beans tends to bring out berry notes that otherwise stay hidden, while Colombian beans usually do better slightly coarser. On temperature, I ran a week of side-by-side tests last winter: 78°C gave sweet, mild cups, 93°C gave more complexity but a touch more astringency, and 82-85°C ended up being my sweet spot. Shorter steeps (45 seconds) land bright and tea-like, longer immersion (2+ minutes) develops deeper chocolate and caramel notes but risks bitterness if you push it too far. And pressing too fast, I learned this the hard way once while rushing, throws the whole cup off balance. I count it out now, slow and steady, every time.
Whether I’m at the kitchen counter or watching the sun come up over a campsite, this same plastic tube keeps being the thing I reach for. Not bad for something that costs less than a week of café visits.
