The Camper’s Guide to Sourdough Baking
Picture this: you’re sitting around a crackling campfire, and the aroma of freshly baked sourdough bread wafts through the mountain air. Nothing beats homemade bread at your campsite, and with the right sourdough starter setup, you can bake incredible loaves right from your car camping setup.
While backpacking presents some challenges, we’ll cover realistic options for both car camping and lightweight trail alternatives.
Why Sourdough is Perfect for Car Camping
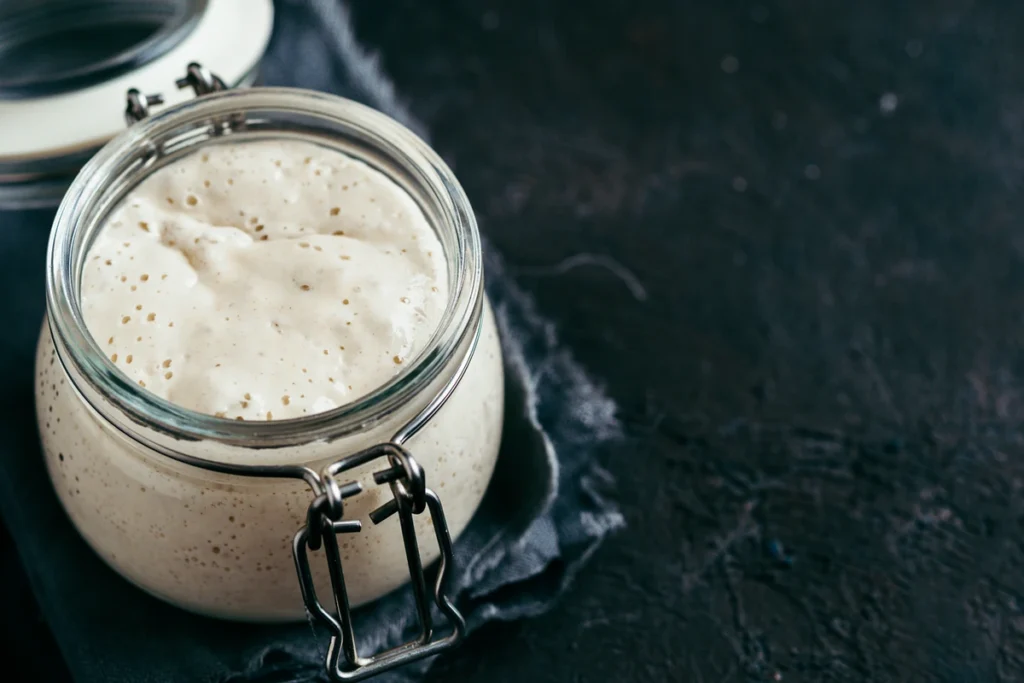
Sourdough bread doesn’t need store-bought yeast, making it ideal for camping trips where you want to impress fellow campers with fresh bread. Your starter is essentially a living culture of wild yeast and bacteria that you feed with flour and water. It’s surprisingly hardy and travels well with proper care.
Plus, sourdough offers better nutrition than regular bread. The fermentation process breaks down gluten and creates beneficial bacteria, making it easier to digest after a day of hiking.
Creating Your Car Camping Sourdough Starter
Essential Ingredients for Your Camp Starter
All you need is:
- 20 grams whole wheat or rye flour (about 2 1/4 teaspoons)
- 20 grams white flour (about 2 1/4 teaspoons)
- 40 grams water (about 3 tablespoons)
For car camping, bring bottled water to avoid any chemicals that might kill your starter. If you’re at a campground with water access, let it sit overnight to off-gas any chlorine.
Starting Your Starter at Home
Begin this process at home before your trip:
- Mix flour and water in a clean glass jar. Aim for thick pancake batter consistency.
- Cover with a cloth or loose lid (never airtight) and place in a warm spot around 75-80°F.
- Stir several times daily. Within 3-7 days, you’ll see bubbles and smell a sour aroma.
- Once bubbling, start daily feedings: remove 80% of the starter, add fresh flour and water.
- Continue feeding daily for 1-2 weeks until it doubles in size within 4-6 hours after feeding.
Car Camping Sourdough: The Full Experience
Setting Up Your Camp Kitchen
Car camping lets you bring the full baking arsenal:
Essential gear for car camping:
- Cast iron Dutch oven (12-inch works best)
- Propane camp stove
- Kitchen thermometer
- Mixing bowls (lightweight steel or collapsible silicone)
- Digital scale
- Long-handled utensils
- Cooling rack
- Camp table
Maintaining Your Starter While Car Camping
Keep your starter in a cooler with ice packs to maintain consistent temperature. Feed it every 1-2 days depending on outside temperature. In hot weather, check it twice daily. Look for a doubled rise before using it to bake.
Store your starter in a wide-mouth mason jar for easy access and feeding. The ice chest method works perfectly for keeping it at stable temperatures.
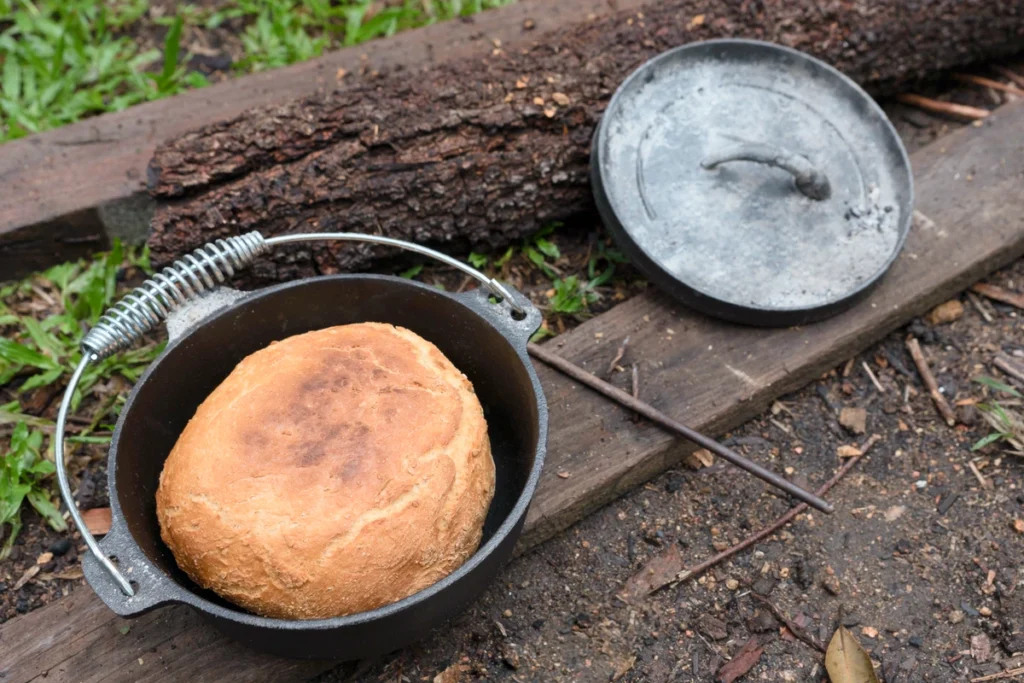
Dutch Oven Campfire Baking
The Dutch oven is your best friend for camping sourdough:
- Prepare coals: You need about 15-20 hot coals for a 12-inch Dutch oven.
- Create a coal ring: Place 8-10 coals underneath the oven, 10-12 on top.
- Baking time: Allow 30-40 minutes, rotating the oven every 10 minutes.
- Temperature control: For 375°F, use the formula: Diameter + 3 coals on top, Diameter – 3 coals on bottom (for a 12″ oven: 15 on top, 9 on bottom).
- Check for doneness: The internal temperature should reach 190-200°F.
Car Camping Sourdough Bread Recipe
Ingredients:
- 200g active starter
- 375g water
- 500g bread flour
- 10g salt
- 2 tablespoons olive oil (optional)
Method:
- Mix all ingredients in a large bowl
- Let autolyse (rest) for 30 minutes
- Perform 6 sets of folds over 4 hours
- Bulk fermentation: 4-6 hours (depends on temperature)
- Shape and place in banneton or bowl lined with floured cloth
- Final proof: 2-4 hours at room temp or overnight in cooler
- Bake in Dutch oven over campfire (see technique above)
Backpacking Sourdough: Realistic Trail Options
Let’s be honest: full sourdough bread while backpacking is impractical. Here are realistic alternatives:
Dried Starter Method
Before your backpacking trip:
- Spread active starter thin on parchment paper
- Let it dry completely into chips
- Pack in waterproof container
- Rehydrate with water when ready to make flatbread
Trail-Ready Flatbread
This works great on a backpacking stove:
Ingredients:
- 2 tablespoons dried starter
- 1 cup flour
- 1/2 cup + 2 tablespoons water
- 1/2 teaspoon salt
Method:
- Rehydrate starter with 2 tablespoons warm water
- Mix with remaining ingredients
- Let rest 30 minutes
- Divide into 4 portions
- Cook on hot camp griddle 2-3 minutes per side
Backpacking Gear Essentials
Minimal gear for trail baking:
- Small titanium or aluminum pot
- Lightweight camp stove
- Measuring spoons
- Small silicone spatula
- Bandana for covering dough
- Waterproof container for dried starter
Protecting Your Starter and Bread
Wildlife Safety
Bears and other critters love the smell of sourdough:
- Store everything in bear canisters or lockers
- Hang food bags at least 15 feet from camp
- Never store in or near tents
- Clean all equipment thoroughly after baking
Leave No Trace Principles
- Pack out all flour and food scraps
- Dispose of discard starter in trash (never in streams)
- Clean equipment away from water sources
- Share surplus bread (builds trail community!)
Troubleshooting Common Camping Starter Problems
Starter Too Cold at Night?
- Store in your sleeping bag or near dying campfire coals
- Use insulated container
- Place near camp stove pilot light (if you have one)
Starter Too Hot During Day?
- Find shaded spot
- Bury container partially in cool ground
- Use wet bandana method for evaporative cooling
No Rise After Travel?
- Give it extra feeding when you arrive
- May take 2-3 days to bounce back after car travel
- Temperature shock can slow activity
Common Camping Sourdough FAQs
Can I start a new starter while camping? Yes, but give yourself 7-10 days. Car camping provides the stable conditions needed.
How long does bread stay fresh while camping? In hot weather, 1-2 days max. Store in shaded area, wrapped in clean cloth.
What if my starter gets contaminated? If you see mold, scrape it off for white surface mold. Colored mold means start fresh.
Can I use campfire ash in my bread? No! Stick to tested recipes. Ash can contain harmful substances.
Creating Bread Memories at Your Campsite
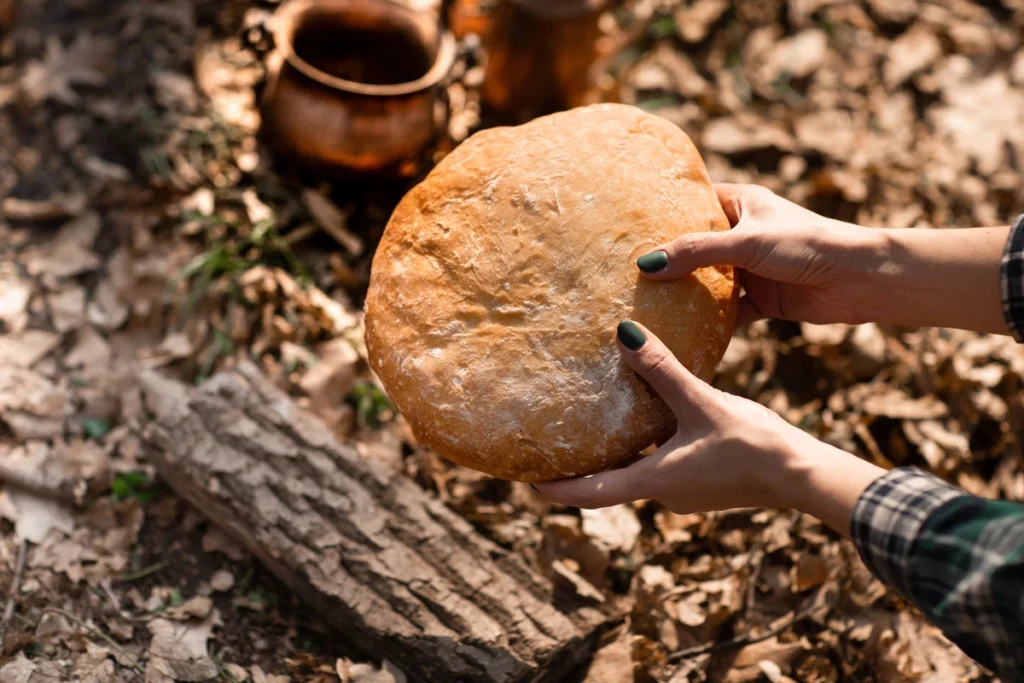
There’s something magical about baking bread outdoors. The anticipation as your dough rises, the excitement of checking your Dutch oven, and the satisfaction of sharing warm, crusty bread with camping buddies creates unforgettable memories.
Car camping gives you the luxury of full bread-making capability, while backpacking offers its own simple pleasures with trail flatbreads. Start with car camping to build confidence, then try the dried starter method on your next backpacking adventure.
Your fellow campers (and your hungry stomach) will thank you for bringing the ancient art of sourdough to the great outdoors.